Mytaste.ph
Ipinapakita ang mga post na may etiketa na Vegetables. Ipakita ang lahat ng mga post

Biyernes, Marso 16, 2012

Korean food: BULGOGI and a Filipino-Korean fusion side dish: APPLE-PEAR-CHIVE SALAD with SWEET KIMCHI and BAGOONG DRESSING


During my early college days, I discovered my fondness for the Korean culture. It all started with my fascination with the now defunct Korean comedy series: New Nonstop. I remember to watch it regularly in Arirang. It was then followed by my obsession with numerous Korean melodramas and movies. I had even learned to understand and poorly speak their basic language (hanggul) because of this.

While watching their films and dramas, I can’t help but fall in love more with South Korea. Their locations are always a lovely sight, may it be the cherry blossoms during spring or the orange hues of autumn. Plus, the way they present their food is always enticing. I can’t help but marvel on those black noodles that they eagerly relish, or that rolled kimbap and spicy rice cakes (ddeokbokkie) that they regularly savor in the streets. And, who doesn’t know Kimchi??? And so, I had told myself that one day I must come and visit S.Korea, to experience all those things that I have been rapt about.

While waiting for that chance, I along with my other friends addicted too, to the Kpop culture, settled to what we can experience here. We used to frequent this non-assuming Korean Barbecue place in Malate, near Harrison Plaza. That is where I had my first samgyeupsal and had my first shot of soju. I wasn’t disappointed. The flavors of the food are fresh and new to me which excited my palate.

A few years later, I grew up, got busy with my dental practice and got married. But that dream of experiencing S.Korea particularly Seoul had always been there. Luckily, I finally had the chance to fulfill that when my husband and I had gone to Seoul, winter of 2010 for our honeymoon. And boy was I not dissatisfied. Seoul, (pardon the pun) truly touched my soul. Even if it was freezing, the people we met during our travel were warm people who offered us help without us asking them to. Aside from the great people that we encountered, the food was phenomenal. It was nothing compared to the Korean foods I had here in our country. Those were some authentic Korean cuisine at its finest, and yes, even the ones we just had in the streets.  The kimchis, barbecues, rice cakes, mandus, pancakes, etc were all to die for.

I may have outgrown now the Korean drama marathons that I used to enjoy until the wee hours of the morning, but I don’t believe I will outgrow my love for their food. Thankfully, I also found Maangchi while searching for Korean food recipes that we enjoyed while we were in Seoul. I became one of her million fans quickly, her website is so detailed, with matching cooking videos that even amateur cooks like me can easily follow. It is because of her that I now make Kimchi on a weekly basis, can now cook Korean dishes any time I please, and maybe loved a little bit more by my husband. So expect, from time to time that I will be posting Korean food recipes that I adapted from her or create a fusion of Korean and Filipino dishes.

For my first post on Korean food, I will show you how to make Bulgogi, since my brother in law had been requesting me to teach him how to do it. Along with the bulgogi recipe from Maangchi, I will be making a side salad that is packed with both flavors of Korea and the Philippines. It is an APPLE-PEAR-CHIVE salad made with a SWEET KIMCHI dressing that I have formulated to also satisfy some Pinoy appetites. The addition of sautéed shrimp paste (gisang bagoong) makes this salad somehow similar to our enseladang mangga.

Let’s start with making the Bulgogi: (Maangchi's recipe of Bulgogi here)

Ingredients and Directions: (good for 6 servings)

Slice about 1/2 kg of beef very thinly. For this one I used Sirloin steak, and had asked the butcher to cut the steak very thinly for me.

Make the marinade by mixing:

- 3 tbsp of soy sauce
- 3 tbsp of water
- 2 tbsp of sugar
- 1 tbsp of honey
- 1 tbsp of sesame oil
- 1 tbsp of roasted sesame seeds (put them in a hot pan and heat them until brown or until they pop like popcorns)
- 2 chopped green onions
- 3 cloves of minced garlic 
- freshly ground pepper flakes


Mix everything well; and keep it marinated overnight or at least an hour or two in the fridge.


From this point, we can now make our salad.

Ingredients to use:


- Asian chives
- Korean Pear (or any pear in hand)
- an apple
- sauteed shrimp paste/ gisang bagoong
- garlic
- Korean chili powder
- toasted sesame seeds
- cane vinegar
- sugar
- kimchi juice 

Let's begin creating the salad dressing. Combine the following:

- 2 tbsp of sugar
- 3/4 tsp of Korean chili powder
- 1 teaspoonful of sauteed shrimp paste
- 2 cloves of minced garlic
- generous dash of toasted sesame seeds
- 3 tbsp of cane vinegar (or any white vinegar)
- 1 tbsp of Kimchi juice 


 Then, cut about 1 cup of chives, 1 medium apple and half of the Korean Pear and quarter of a large onion into matchsticks.


Put everything in a bowl and mix well with the sweet kimchi-bagoong dressing; and set aside.


After the marinating time has elapsed, start to heat up your cast iron grill and drizzle some sesame oil.


As the beef was sliced very thinly, it will take no time to cook it. Just about a minute or two, grill closed. This will produce a very tender bulgogi, any time longer than that can make the beef feel like rubber.


Transfer the chive salad and the Bulgogi to serving plates. Garnish the Bulgogi with some green onions and toasted sesame seeds; the salad with some more sesame seeds.


These are best paired! =)


That wasn't so hard right? =)

Go make some and tell me how it goes.

I, with my husband and some dearest friends have booked another flight to Seoul this coming November. We wanted to see the Korean autumn. Until then, I would have to satisfy my self with these delights. =)

Happy Eating! =)

Linggo, Marso 11, 2012

My mother’s LAING


Holy week is just around the corner. That one week during summer when most of us get to have a long rest from work, perhaps do some travelling here and there and most importantly do a lot of contemplation on our faith.

Several years back, Holy week for our family meant visiting family and friends in Bicol, the province where my dear mother grew up.  My mother, even if she was a Bicolana, wasn't really that tolerant to spicy foods like the other natives; but what she lacked in spiciness, she made it up with creamy goodness. She loved using gata (coconut milk/coconut cream) in her dishes, a trademark of cooking in their region. One of these dishes she used to always make especially during the Lenten season was  LAING (taro leaves cooked in coconut milk) sans the pork meat. She usually replaced it with shrimp or tinapa flakes (smoked fish).

For me, her Laing was the best I have ever tasted!  And I am not claiming this just because I am her daughter, because everyone I know who had the chance to taste it seems to agree. Even my husband argues that my version of Laing is only 2nd best compared to how my mother made it. Too bad, my mother didn’t left any specific instructions of her recipe, because like me, we usually don’t rely on recipes, but rely on taste while we cook it; adjusting as we go along. Good thing though that I was able to observe her during the times she cooked this dish, as I was able to get important tips on how to cook the perfect Laing.

On this post, please do allow me to attempt once more to make the perfect Laing, as a tribute to my dearest mother.

Ingredients you’ll need:


-          100g of shredded , dried gabi/ taro leaves
Note: If you can’t seem to find any dried ones at your local market or grocery and only has fresh ones in hand, make sure to sun dry them at least a day before using them.  And when shredding them on your own, do them with your HANDS as the metal blades from scissors or knives may change the flavour a bit, just make sure to put on some gloves while doing so as its leaves can attempt revenge and leave your skin with tiny cuts.


- 2 cloves of minced garlic
-          A tsp of ginger, finely chopped
-          2-3 pcs of siling labuyo/ bird’s eye chilies
-          1 siling haba/ finger chili
-          About 1/2 cup worth of pork cubes /ground pork /pork meat cracklings(chicharon laman); during lent replace this with shrimp, smoked fish (tinapa)
* I am partial to using shrimp, only if it wasn't that expensive here, as shrimp brings so much flavor to this dish. But if you are a vegetarian, you can just omit the meat and make this without any.
-          A tbsp of cooking oil
-          1 can of 400 ml of coconut milk 
-          1 small can of  270 ml of coconut cream (gata)

Note: Coconut milk and creams are now readily available in supermarkets, but if you have lots of time in your hand and the adventurous type and you want to make your own coconut milk and cream, go ahead and climb that coconut tree, and search for the perfect mature coconut. Grate it, put it on a cheesecloth, put some warm water on it, and squeeze out all the cream while thinking of someone you want to strangle. The FIRST extraction you get will be your coconut cream. Add a little bit of water and proceed with second extraction, that will be your coconut milk. If you cant seem to get any more cream during this time, just add a cup of water to about 1/2 cup of coconut cream to make it into coconut milk. 

-          3 tbsp of ginisang bagoong (sauteed shrimp paste)
-          Salt and pepper to taste

All ready now? Let's begin!

In a sauteing pan, heat some oil and saute garlic and ginger until fragrant. 


Add pork cubes until browned.


Season with about 3 spoonfuls of shrimp paste. Adjust to taste; and add salt and pepper. 


Chop the finger chilies and add them. If you want your Laing to be mean spicy, chop one of the siling labuyo/birds eye chilies and add them; add more to your liking. If you aren't to spicy stuff, just put the chili/chilies in it without bothering to chop them.


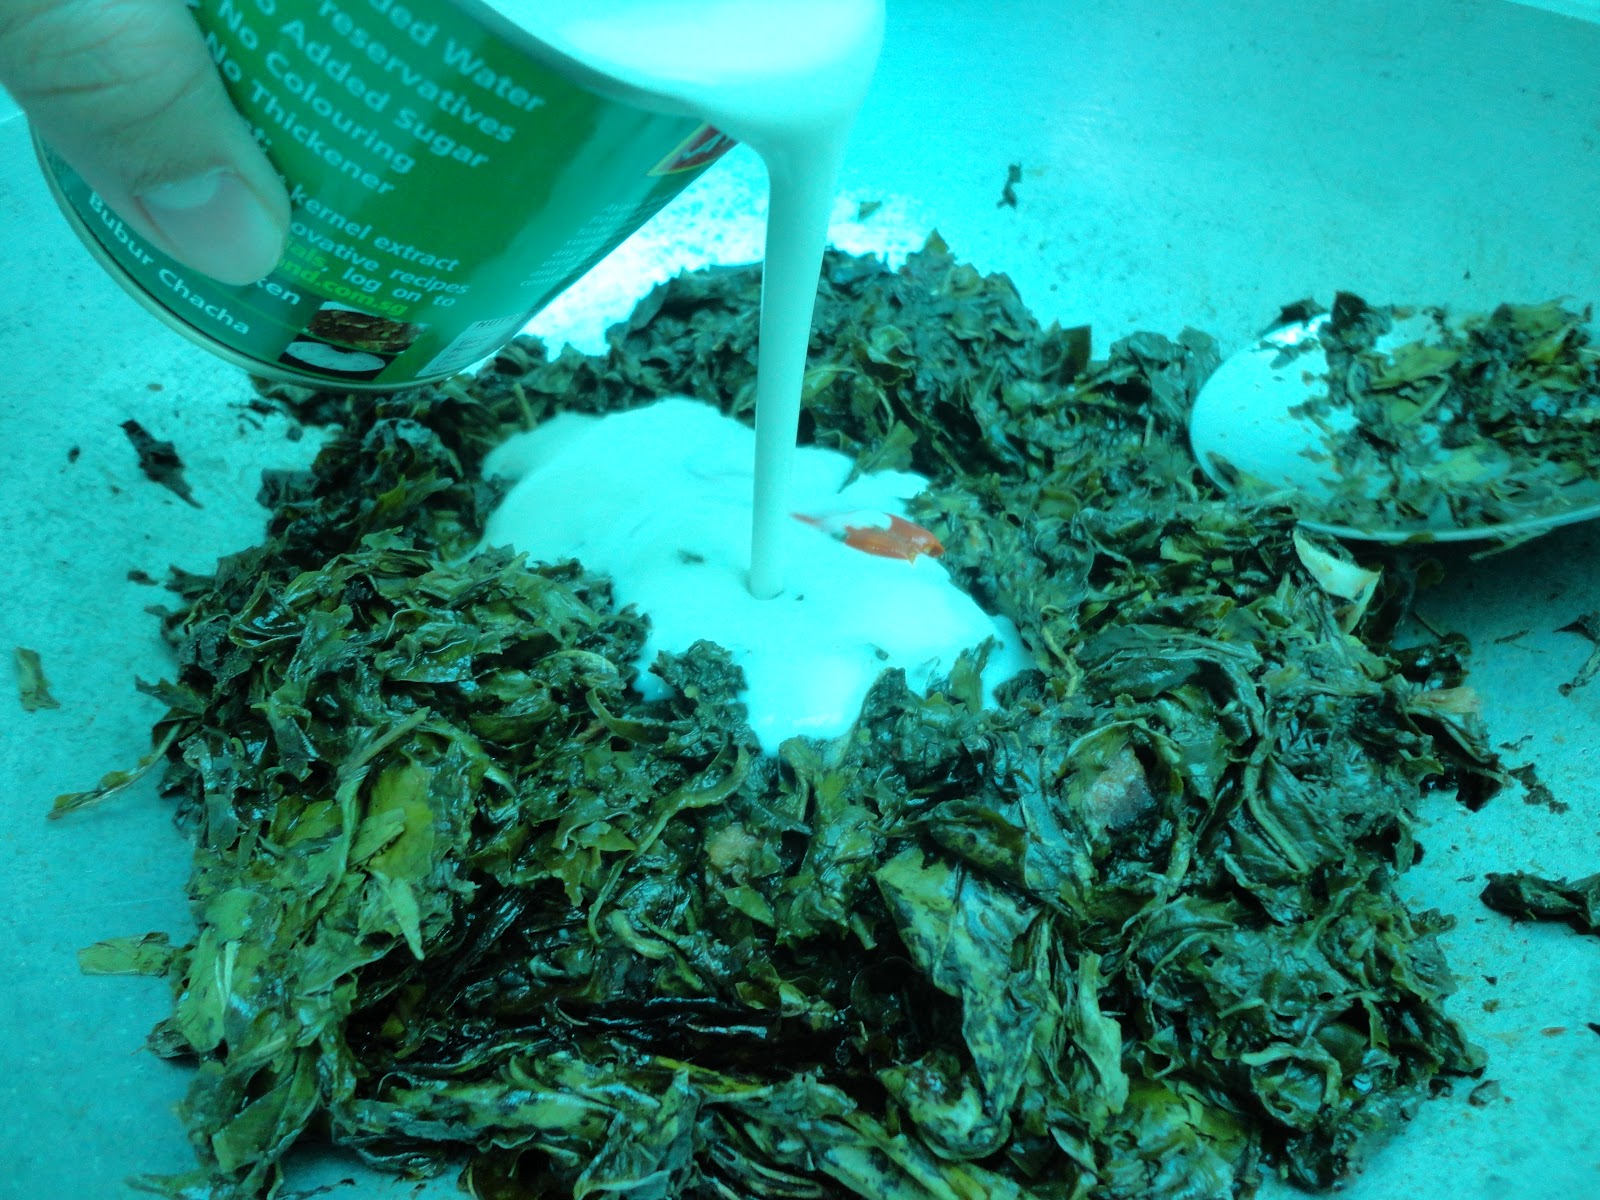
Pour about 1 cup of coconut milk, followed by the taro leaves.


Then, pour in the remaining coconut milk on top of the taro leaves to make sure all the leaves are hydrated with the milk. 


At this point, GENTLY stir the coconut milk evenly at the pan to coat every leaves and just leave it as such to simmer after. Simmer over very low heat.

!!! One important tip I got from my mother was to NEVER, and if ever needed, just GENTLY STIR this while its cooking or it will leave your mouth really itchy when you eat it. 


When almost all of the coconut milk has been reduced, and you are sure that the leaves are cooked, add your coconut cream and simmer for another couple of minutes. It is important to make sure that the taro leaves are properly cooked as raw taro leaves are poisonous. 


Now, its done!


Top it with finger eye chilies for garnish.

 Make sure to cook a lot of rice to go along with this dish, as any dish with coconut cream on them will make you eat more rice.

Now.... close your eyes, say some grace before meals, then dig in.

Happy Eating! =)