Mytaste.ph

Huwebes, Abril 26, 2012

Super thick Avocado Ice Cream with Cashew bits


I thought the sunny days are over as the rain gently poured here in Narnia, but after the rain's downfall was a much much humid weather. Argh. Oh well, at least its another excuse to make myself some homemade Ice Cream; to add to my growing list of exquisite flavors! nyahahaha

If you have read my 2 recent food posts, you noticed how "lethargic" I am the past few days. I still am. I was thinking it was probably because I was swamped with too much patients at the clinic these days. (Oh Lord, I am not complaining! =) ) And sometimes, I wish I could at least still have my lunch. I was really feeling tired and my super woman body just cant keep up. That's why I went to the doctor for some check up. And now I know why I am feeling that way.=)  I think I really need to rest a bit before my body took a toll on me. 

Well anyway, here's a quick Chinese food ad! Totally not related but I was thinking it still had to have its shining moment on my blog. =)  Last night, I made some LEMON CHICKEN! It was absolutely yummy and its just like one of my favorite Chinese take out! =) But again, I was too tired to take a step by step pic on how I made it and blog it. But I promise to blog it next time, once I have regained my super woman body strength! =)

Chinese Food Ad: Lemon Chicken!

Now back to regular programming! The SUPER THICK AVOCADO ICE CREAM!

When I was a little kid, Avocado Ice Cream meant mashed ripe avocados and a whole lot of condensed milk or powdered milk and sugar. I'll messily combine the ingredients in a plastic, kid friendly bowl and put it in the freezer with the aid of our yaya, since I can't reach the freezer yet! I would patiently wait for it to set and be proud of myself after it became "ice cream". Although honestly, it was more like a frozen sweet avocado mash. =)

The other night, I have attempted to make a more sophisticated version to my kid version of Avocado Ice Cream and here's what I came up with. A "SUPER THICK AVOCADO ICE CREAM". 

Here's how to do it:

Ingredients: (good for 4 servings)

- 2-3 ripe avocados, peeled and stone removed
note: If you want a milder avocado flavor, use 2 avocados ONLY!

- 3/4 cup of all purpose cream
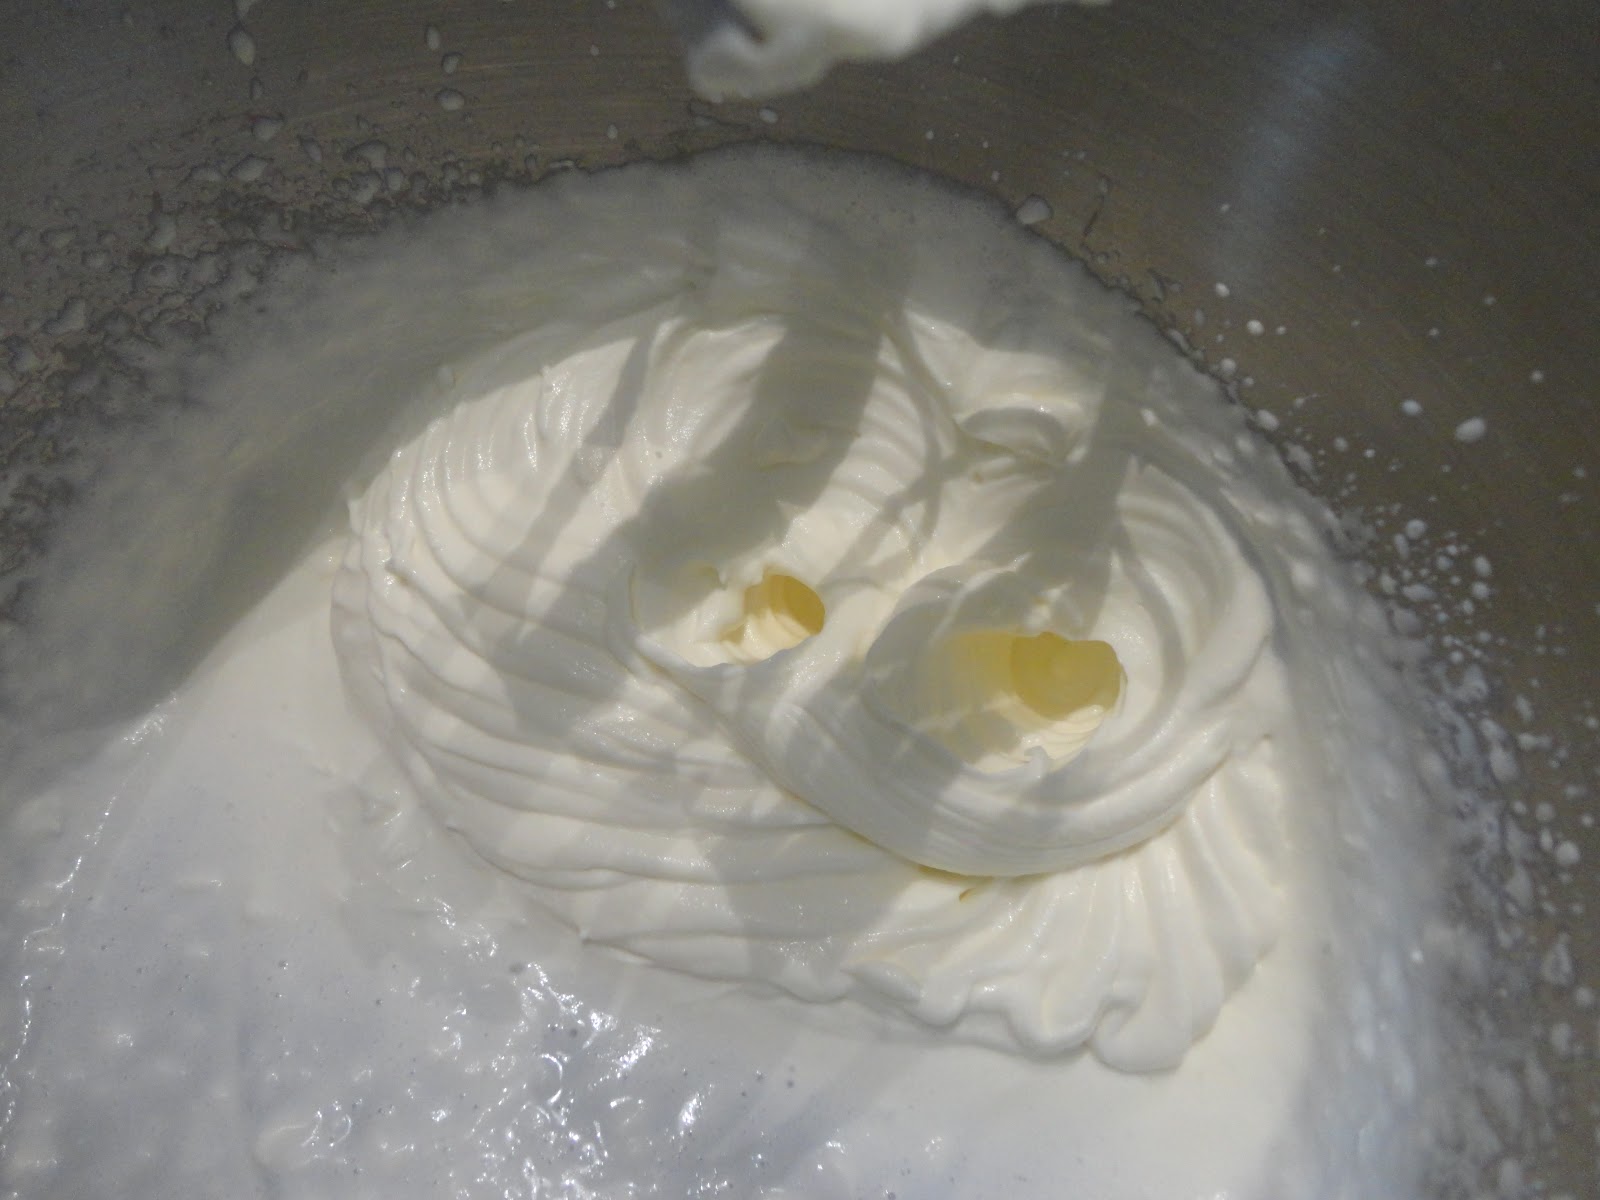
- 1 cup of whipping cream, (whipped until soft peaks form)
- 1 to 11/2 cup caster sugar
- 1/3 cup finely chopped toasted cashews


Directions:

1) In an electric blender, finely puree the avocado while gradually adding 3/4 cup of all purpose cream.


2) When the 2 ingredients are thoroughly mixed, gradually add in 1 cup of caster sugar.When it is done, transfer to a freezable bowl and set aside.


3) In another bowl, whip the whipping cream until soft peak forms.


4) Fold it in the avocado mixture. Taste and add more sugar if needed. (I added 1/2 cup more of the caster sugar as I used 3 avocados. Avocados can sometimes be bitter; so to mask the bitterness, I added more sugar. tip: You can also add a bit of lemon juice if available to mask the bitterness; about 1 tbsp.)


5) Cover the bowl with aluminum foil and put to freezer for 30-45 minutes. Once it has reached a soft serve consistency, fold in 1/3 cup of finely chopped toasted cashew nuts.


6) Cover it with aluminum foil and freeze overnight. Or transfer to an ice cream maker and churn according to manufacturer's recommendation. Done! =)


Summer is the best time to feature local fruits in season! You have two options: make use of them now, at their best; or wait for another year! =) 

I super missed my mother when I was making this ice cream, Avocado was one of her absolute favorites. And although I am sure she enjoyed my "Sweet avocado mash" during the old days, she would probably love this too. 

Happy Eating! =)

Martes, Abril 24, 2012

MISO soup


The lethargic feeling in the kitchen transpired the whole day, and come dinner time, I still haven't left the house for some market shopping. I'll probably do this tomorrow if I won't be too lazy. My fridge and pantry comes to the rescue once more; as they are the ones that dictated what was going to be for dinner.

I have bought some hondashi granules several months back without exactly knowing what to do with it. Why did I buy it? Because I was intrigued with what it's for and I have this not-so-healthy habit of buying food ingredients out of curiosity.  I also buy these ingredients (usually from the Asian Aisle section of the big groceries) in the Metro every chance I get; for fear that I might have a need for it one day and I can't search it even if my life depended on it, here in Narnia! On my recent "Metro" grocery shopping, I chanced upon some Japanese Miso paste and immediately bought it even if the only thing I know I can make use of it was some Japanese Miso soup. Haha, oh well, I still have all the time to explore it and maybe experiment with it since its expiration date is still far. And alas! The day has finally arrived for me to use this 2 Japanese staples for tonight's dinner.

I researched for a good Miso soup recipe and chanced upon Michelle Chen's recipe for it in Allrecipes.com.  (Thanks Michelle!) It had good reviews and when I finally tasted it, it's truly a great recipe. It's just like the ones they serve you in Japanese restos; sans the expensive price for a little bowl. Another good thing about making it homemade, is that you can control portions and I made sure I loaded mine with chunky tofu because that's what my miso soup from the Japanese food chains deprived me of!

Want to prove it to yourself? Make one! =)

Here are the Ingredients: (makes 3 big bowls)
(recipe adapted from Michelle Chen from allrecipes.com)

- 1 packet of hondashi granules (about 2 tsp)
- 4 cups of water
- 3 tbsp of Japanese Miso paste
- 2 cups worth of firm tofu (sliced into chunks or desired size)
*original recipe calls for 8 ounce of silken tofu but I always had a hard time manipulating silken tofu.They're just too fragile? =)
- 2 stalks of chopped spring onions


" a packet of hondashi granules"

Directions:

1) In a saucepan, combine the hondashi granules and the 4 cups of water. Stir to dissolve and cover with lid and let it boil.


2) Once boiling,  reduce the heat to a medium and add in 3 tbsp of miso paste; whisk it in until completely dissolved.


3) Add in the sliced tofu and gently stir it. Lastly, add in the chopped spring onions and simmer it for a couple more of minutes on low heat before serving. 


Jan-ja-ra-ran!!! Tada! Done! Just like that in 3 easy steps and with just using 5 ingredients! =)

I paired this super easy soup with another super easy treat: Spam Musubi! It was my first time making this Hawaiian classic. I was inspired to do it by my friends from Korean,Asian,World-wide food lovers group in Facebook; even if Andrew Zimmern swears it's one of the worst food he has eaten in his show Bizarre Foods. =) I'm grateful for knowing these foodies all around the globe as I learn and get inspired so much from them too! =)


Hopefully, tonight I'll get enough sleep! I need to do some recharging for my kitchen prowess to come back! haha.

Good night and Happy Eating! =)

Lunes, Abril 23, 2012

Lazy Tuesday: The Ultimate Seafood Kimchi Melt Sandwich


Travelling from Narnia to the Metro and vice-versa twice a week can be really tiring and sometimes it just takes a toll on my body. Come Monday or Tuesday when I'm back in here from the long travel, I feel lethargic and too lazy to do anything. And when I can't wake up early to cook a decent meal to serve my husband, I whip up a handy and hearty sandwich in a flash so he can take it with him and eat while he's on his way to the clinic. Oh yeah, that's me, the good wife, nyahahahaha. I can't afford him to not have his most important meal of the day: breakfast. 

And since I usually haven't done any market shopping yet at this time, I just rely what's in the pantry and in the fridge. Today, I found some leftover crab flavored seafood sticks that I usually use for maki and kimbaps, some canned tuna that's been sitting in our pantry for quite sometime, and homemade kimchi! I have been making my own easy Kimchi since the great Maangchi personally taught me how to do it when she visited us here for her Gapshida Tour. It's nothing like those crappy kimchis in tetra packs that you find in the grocery, which are usually reeking of preservatives and MSGs! Here's her easy, healthy, super tasty recipe for Easy Kimchi.

Okay, this may not yet be THE ULTIMATE Seafood Kimchi Melt Sandwich but let the word "Ultimate" make up for all my short-doings this morning and lure you to this little thing that's so jam packed with foodie goodness. Convinced yet? =) Let's go make one! 

What you'll need: (makes 2 sandwiches)

- 1 can tuna; about 180 grams
- 2-3 tsp of Liquid Seasoning (e.g. Knorr Liq. Seasoning; Maggi Savor)
*if you don't have any liquid seasoning, use light soy sauce
- 1 tsp white sugar
- drizzles of sesame oil
- toasted sesame seeds
- 2 pcs of crab flavored seafood sticks
- 1 tbsp Kimchi juice (yes, its that liquid in the kimchi)
- 2 tbsp Japanese mayonnaise
- some Kimchi
- 4 slices of your choice of bread (I used wheat bread slices)
- some Romaine lettuce leaves
- some onion rings
- slice of cheddar cheese

"crab flavored seafood sticks"

Directions:

1) First, drain the tuna from the can very well. Squeeze out all liquid using your kitchen paper towels. 


2) Heat some non stick pan and drizzle with some sesame oil. Stir fry the tuna flakes and season with 3 tsp of liquid seasoning and 1 tsp of sugar. Stir fry over high heat for a minute and add toasted sesame seeds. Remove from heat and drizzle with some sesame oil. Set aside.


3) In a small bowl, combine 2 tbsp of Japanese Mayonnaise and 1 tbsp of Kimchi Juice. Mix well.


4) Shred the crab stick into small pieces and mix in the Kimchi-Mayo. Stir well to combine.


5) Let's begin the sandwich assembly! Put on a plate your choice slice of bread and layer it first with the crab stick seasoned with the Kimchi-Mayo.


6) Top it with a Romaine Lettuce leaf.


7) Top that with the seasoned tuna flakes.


8) Fourth layer will be some onion rings.


9) Fifth layer is the mouth watering Kimchi!


10) Lastly, some good old sliced American Cheddar Cheese.


11) Heat the same pan you used for your tuna, and just heat the sandwich on both sides for a minute or so until the cheese melts.


12) Sliced into 2 before serving. I garnished and served mine with some sweet rice crisps to balance this spicy, savory sandwich.

 "Lookie lookie! Just look at that melted cheese that sticks to the delicious Kimchi!"


Kimchi has become one of my kitchen staples and it is as versatile as the pasta. There are about a million things you can come up with using kimchi and this deli-sandwich is just the first one in this blog list. Expect me to come up with more unique dishes that incorporates this Korean side dish! =)


I am pretty sure that this sandwich can make up for my lazy morning. I may have ran out early of Kitchen prowess  to run my kitchen; but a little creativity here and there using available ingredients in your pantry and fridge can still get you a loooong, loooong way! =) That's just the magic with food, it's like love match matching, you'll never know who goes well with who until you pair them! =) Haha, good luck with food match making! =)

Happy Eating! =)